


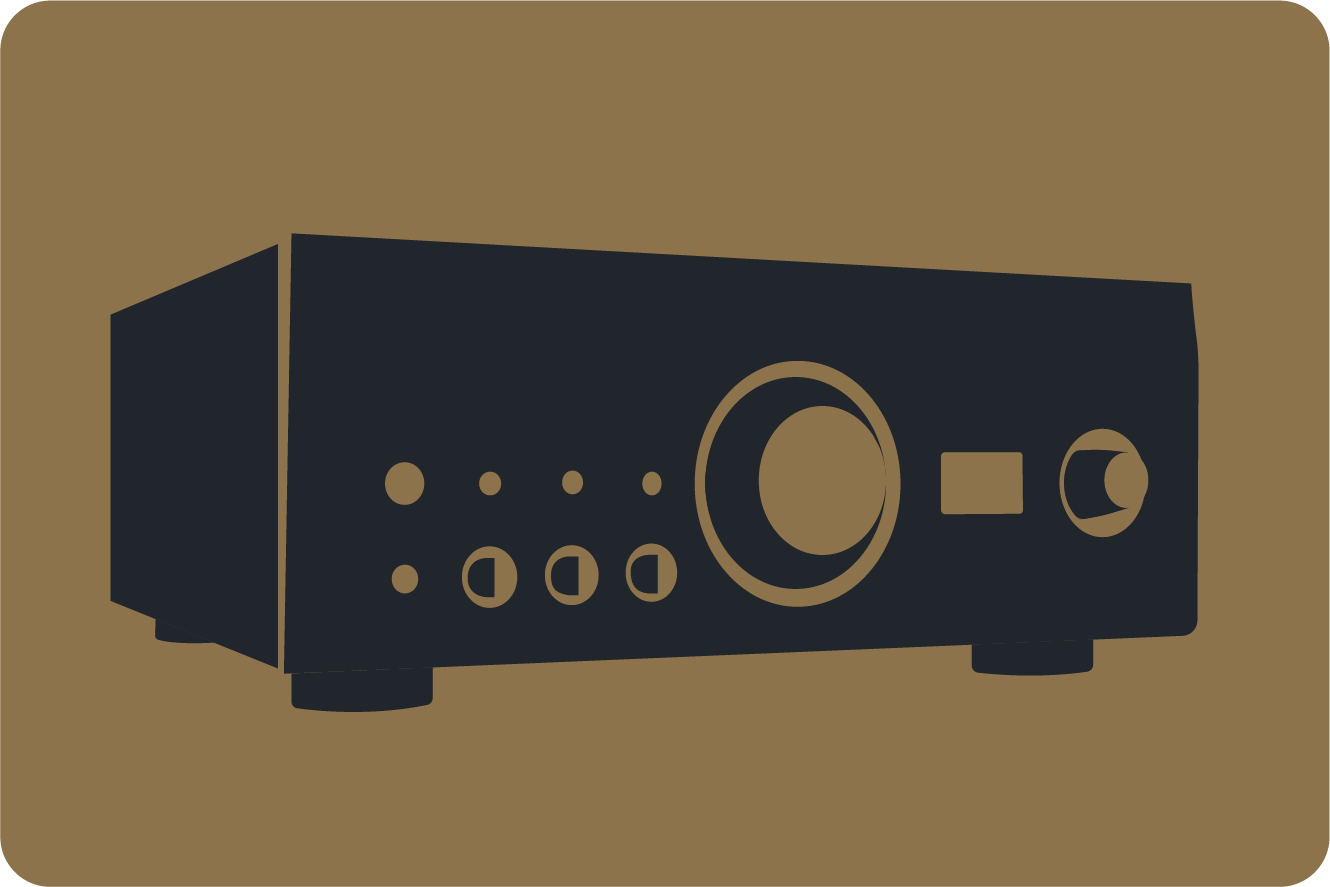
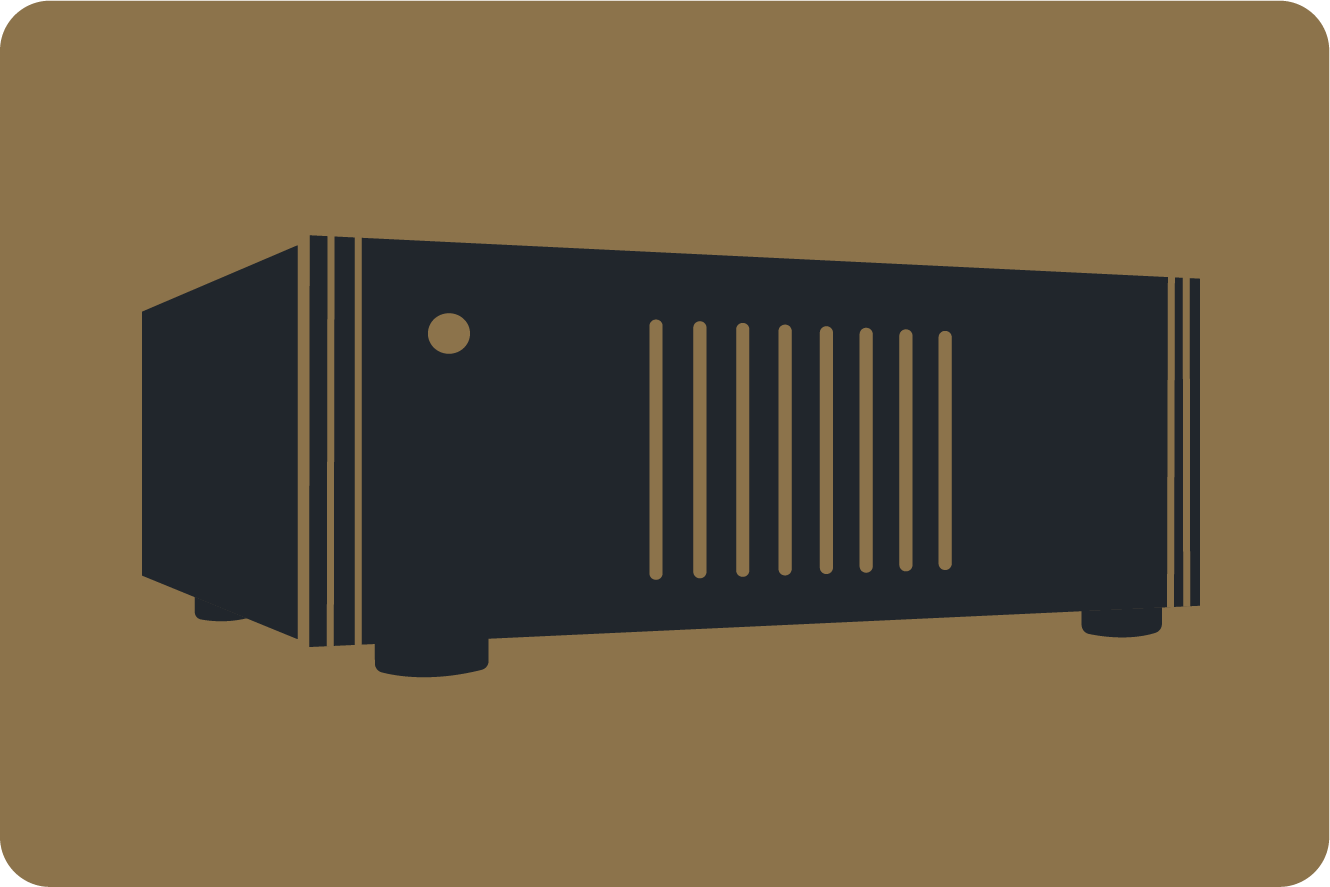


Instructions for Denon and Marantz AV receivers
Correct calibration is essential for your perfect audio experience.
In the following we would like to show you how to achieve this and which mistakes to avoid.
The calibration process is essentially divided into 3 parts:
1. Preparation
- Before the actual calibration can begin, a few things must be considered and prepared. For a perfect calibration you need:
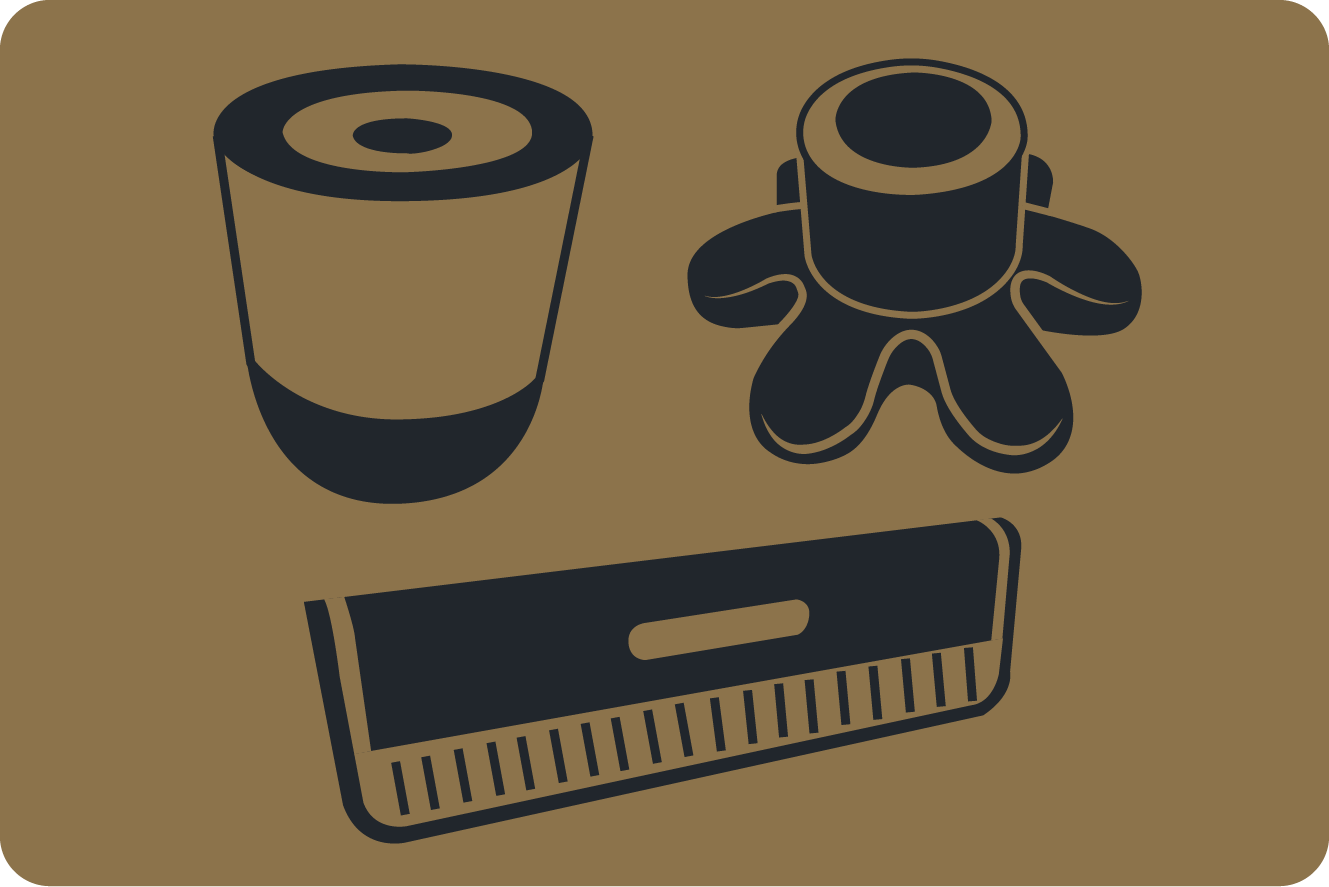
I. A distance measuring device such as a tape measure or range finder
II. A level meter (or app for smartphone)
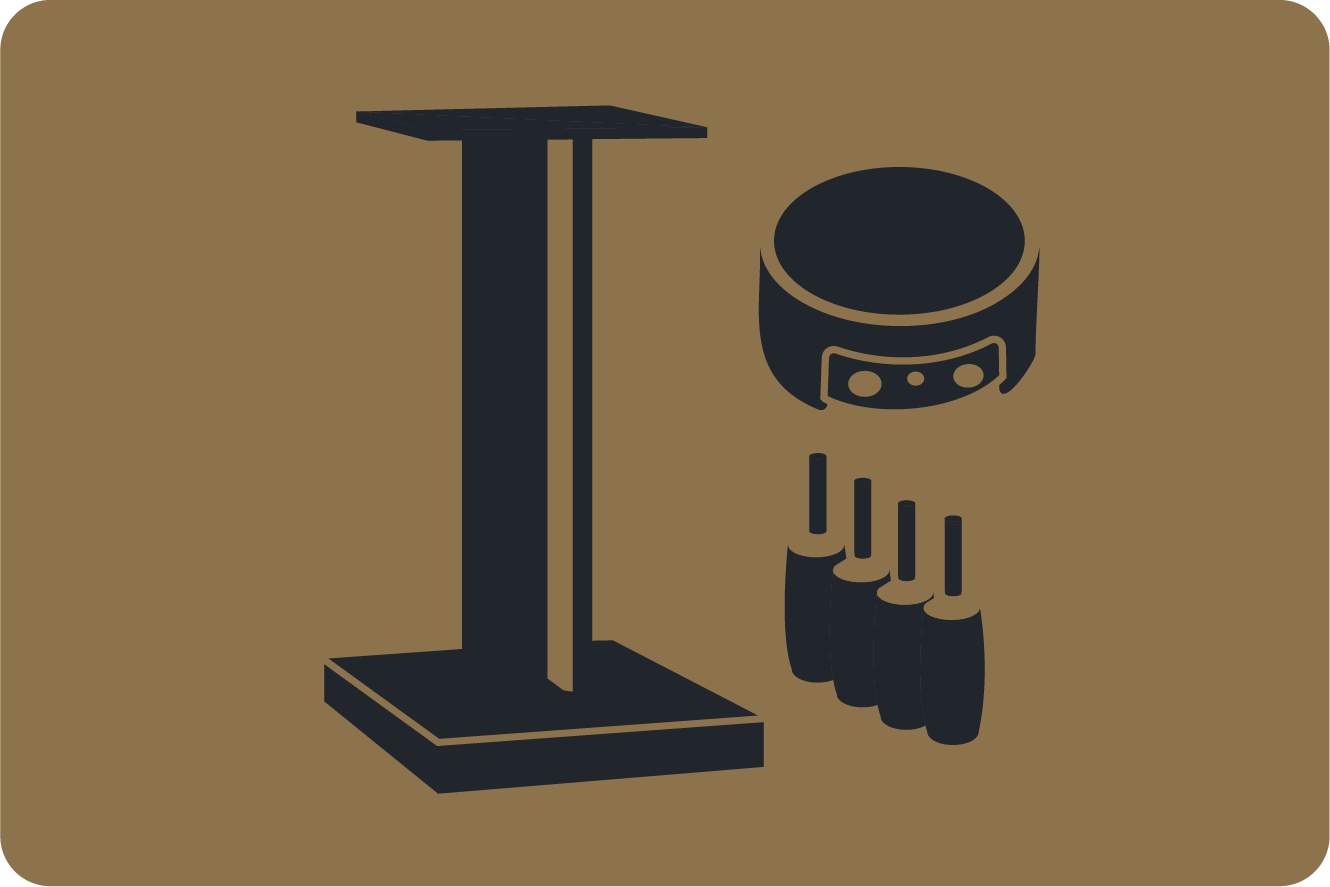
III. An optional tripod
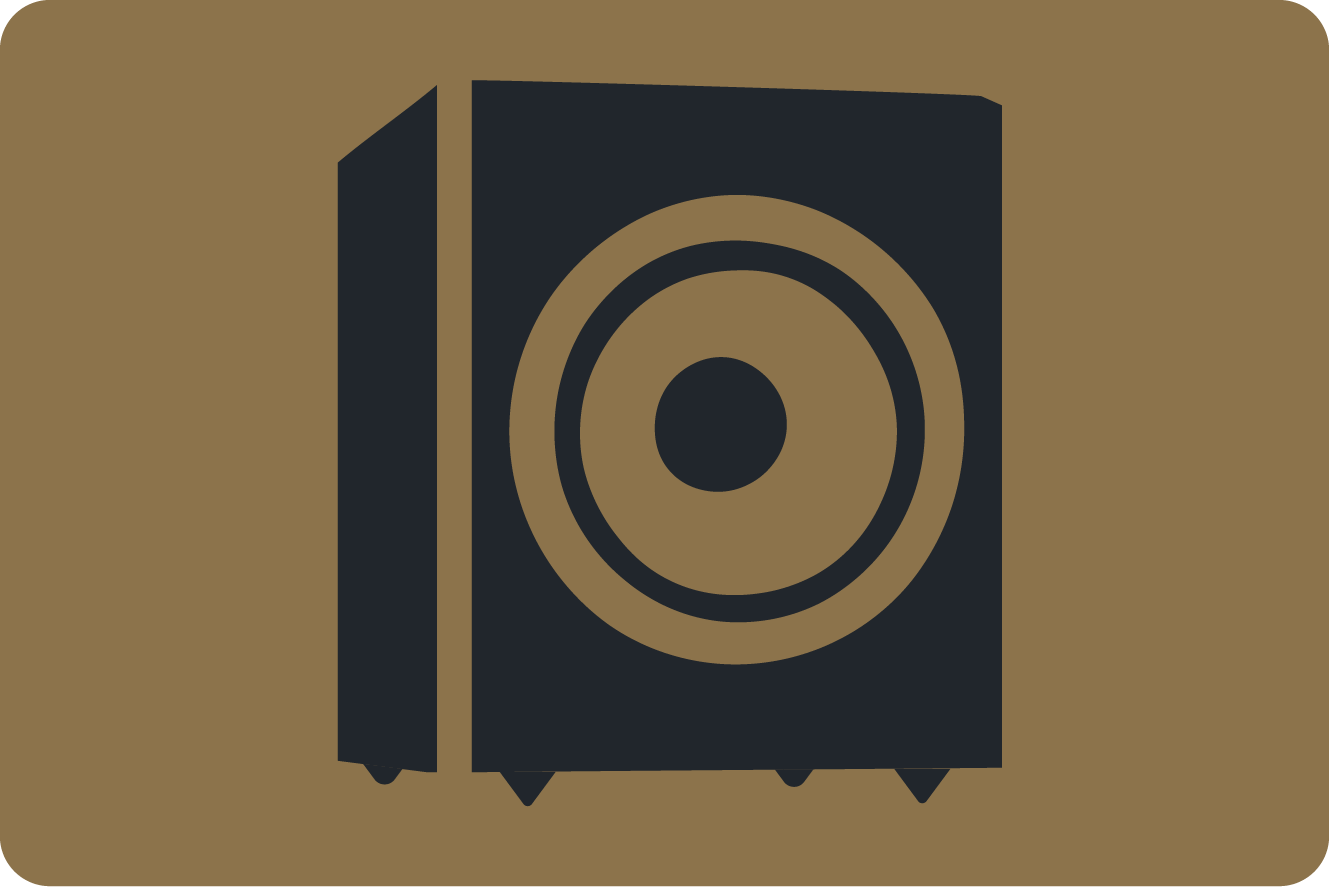
- If your subwoofer has a built-in calibration function (such as the Velodyne subwoofers) carry out this calibration before proceeding with the installation.
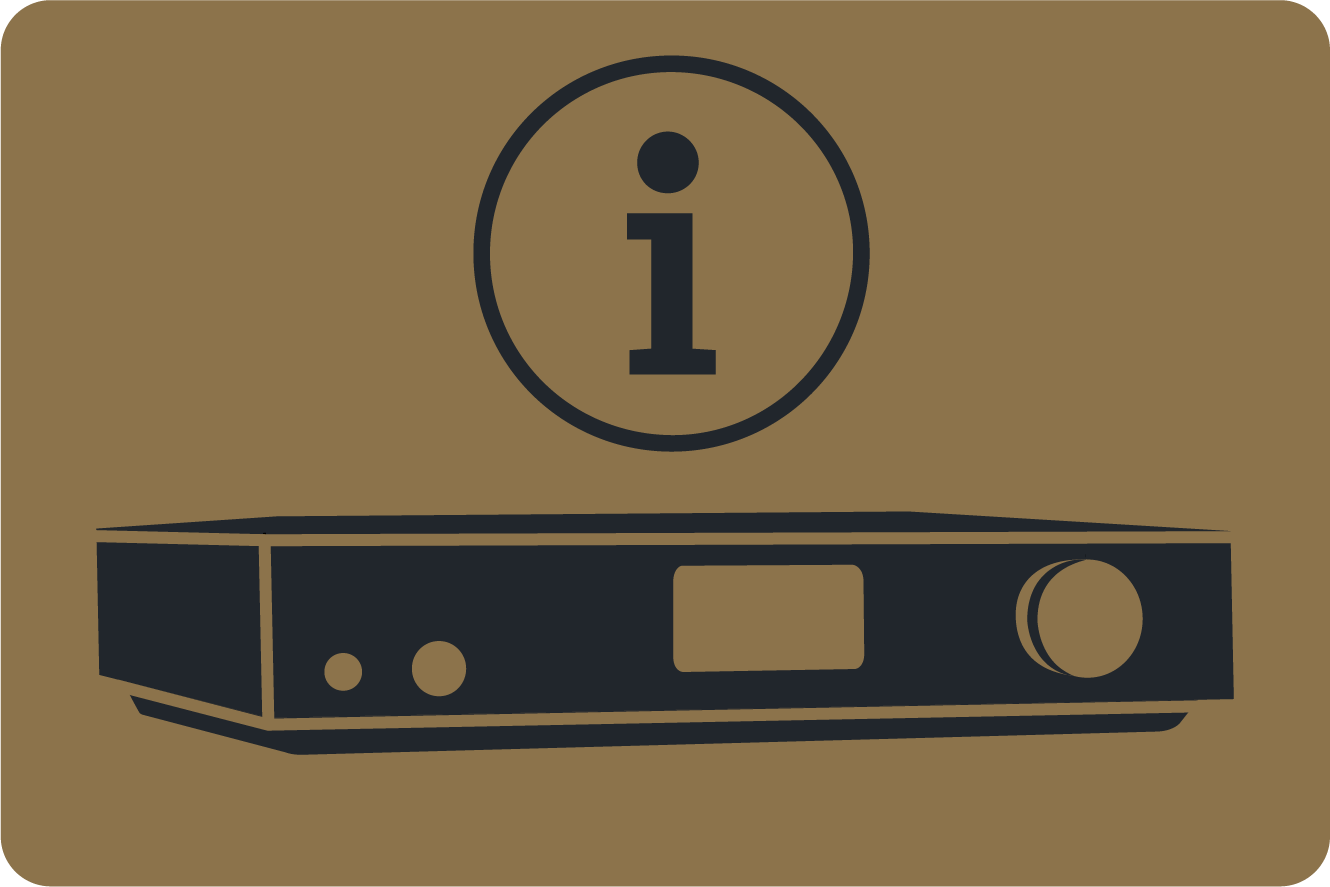
- Connect all speakers and devices to the AV device and connect it to the power supply. For the HDMI connection, plug the HDMI cable into the ARC socket on the AV receiver and into the ARC or eARC socket on the LaserTV. (For projectors, use any HDMI input)
- Start the receiver and switch your TV / projector to the HDMI input to which the receiver was connected, the initial setup menu will appear there. Here you can go through all the points, you should skip the measurement for the time being.
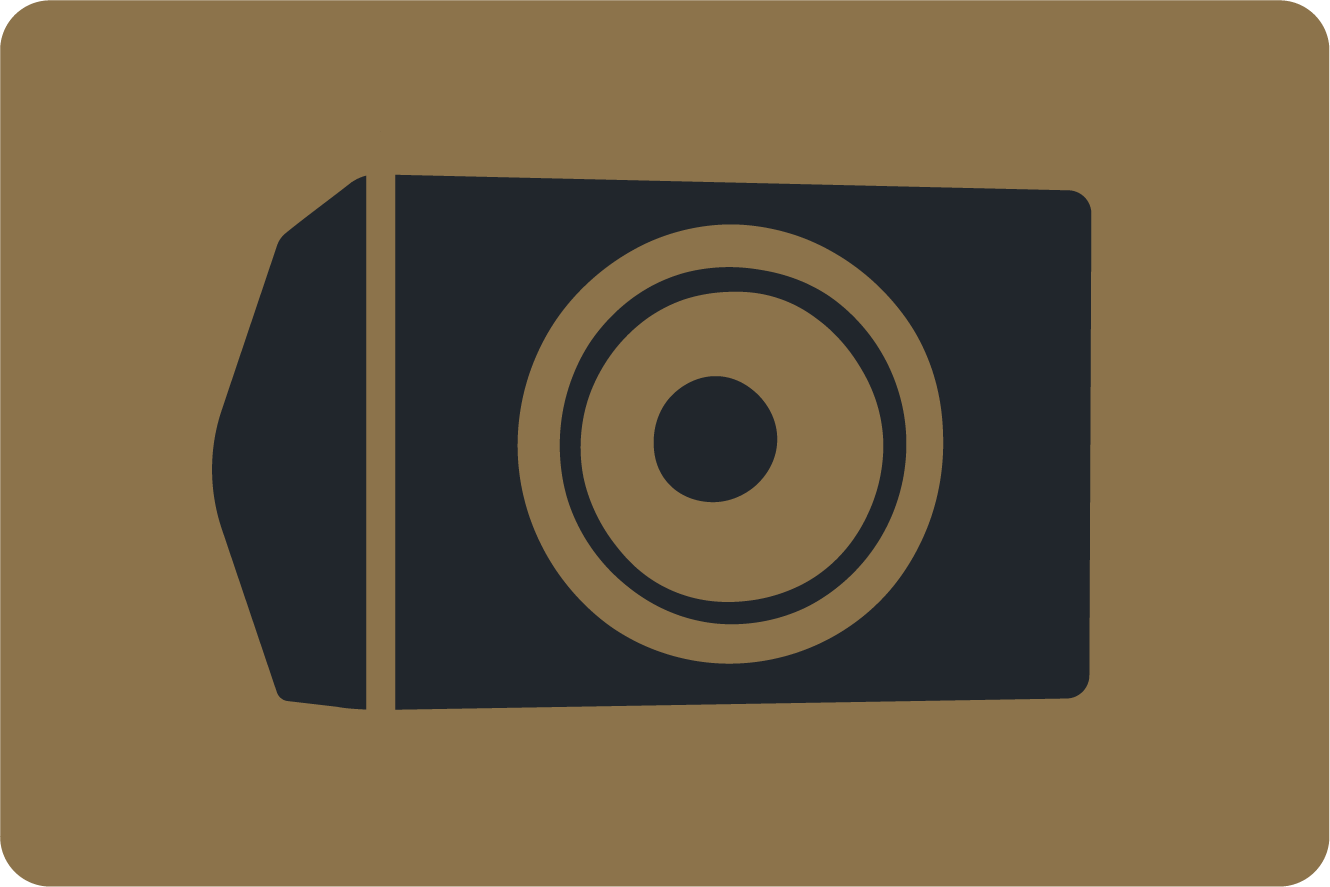
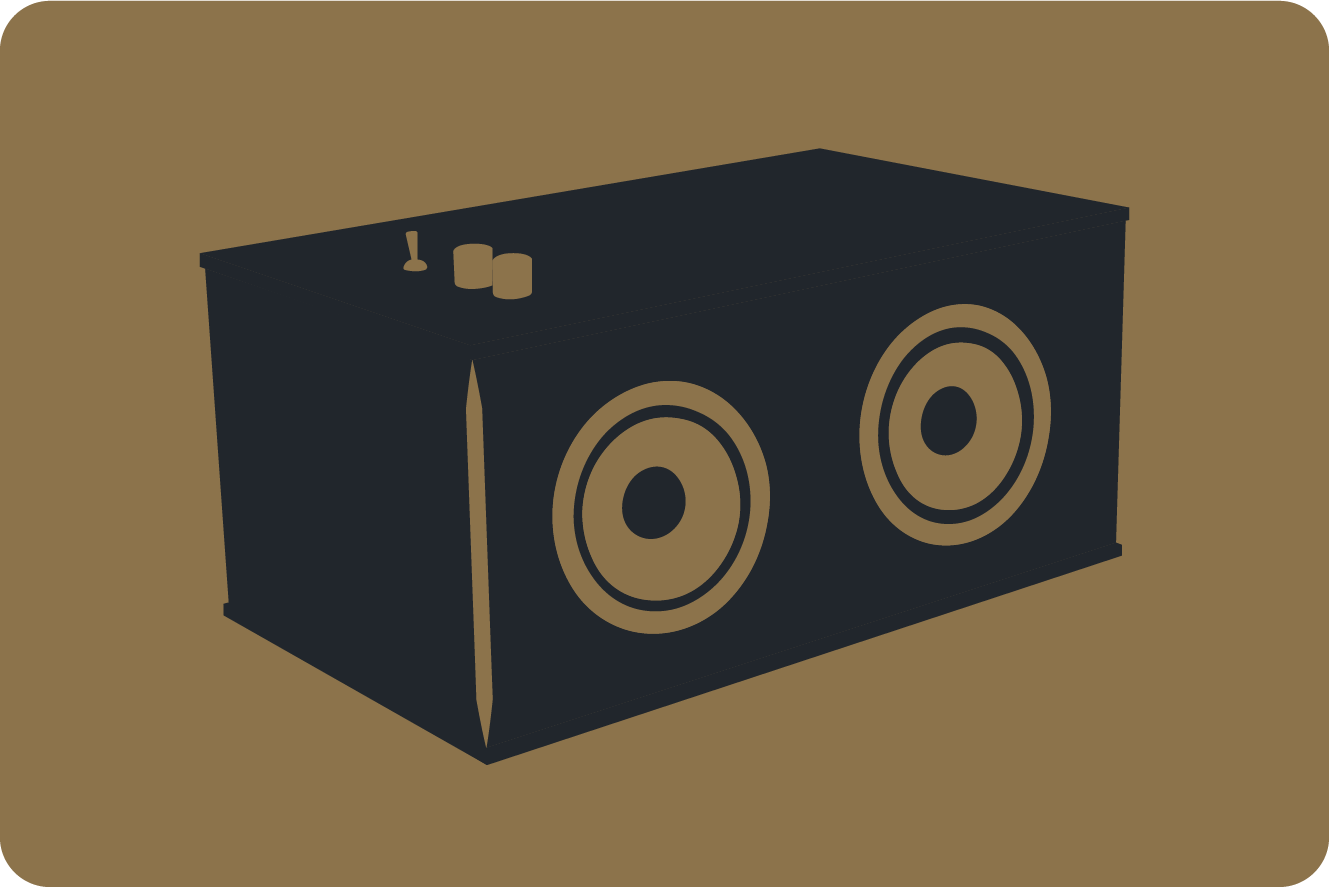
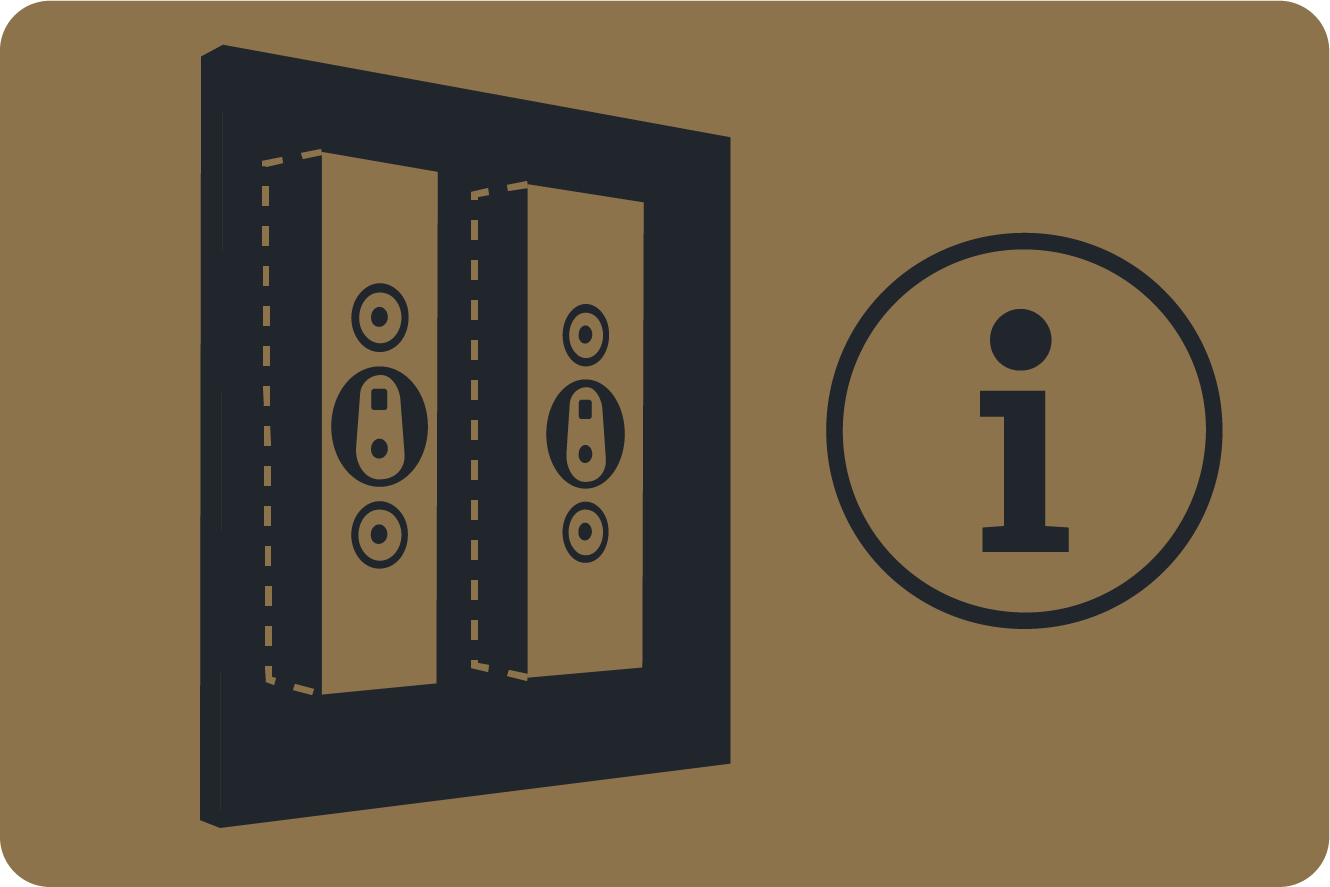
- Position your speakers so that they face the listening position. Above all, allow the front speakers some distance to the rear wall. If the center is standing on a sideboard, pay attention to the first reflection and ideally place it right at the front on the edge.
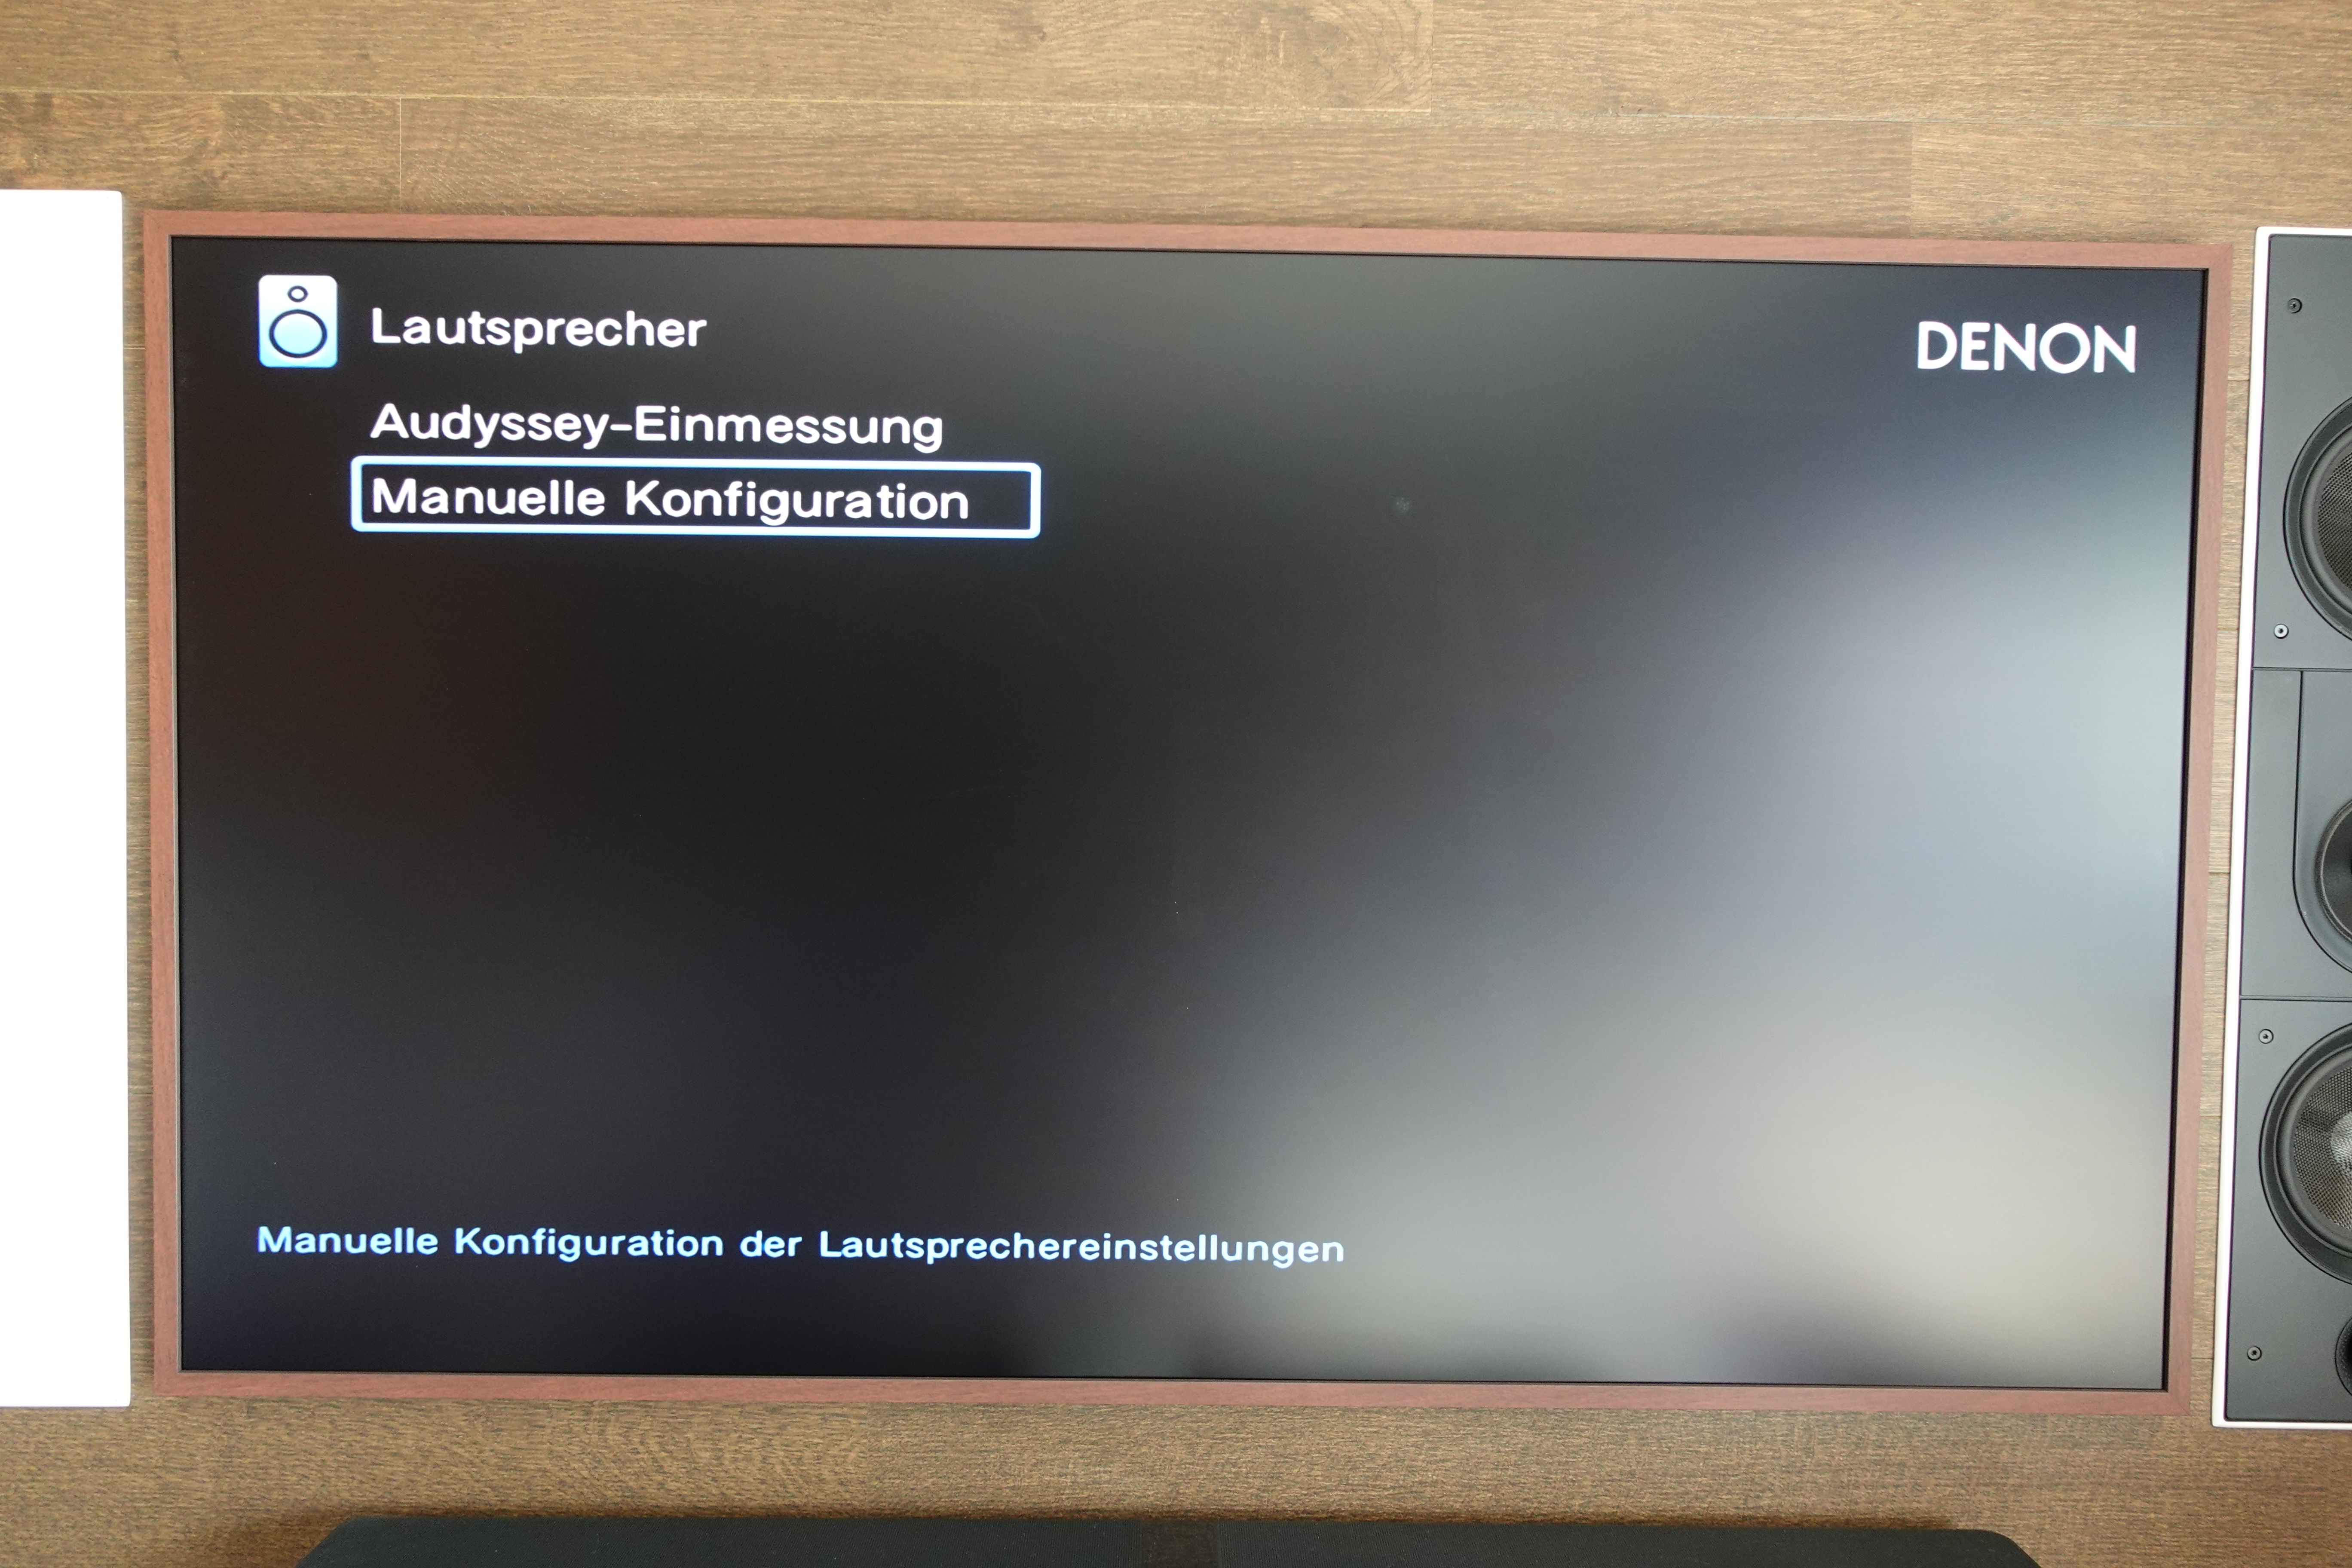
- Once the initial setup is complete, go back into the menu -> go to speakers -> manual setup. Here you can enter the distance to each speaker. You can do this with the distance meter for all speakers (except the subwoofer).

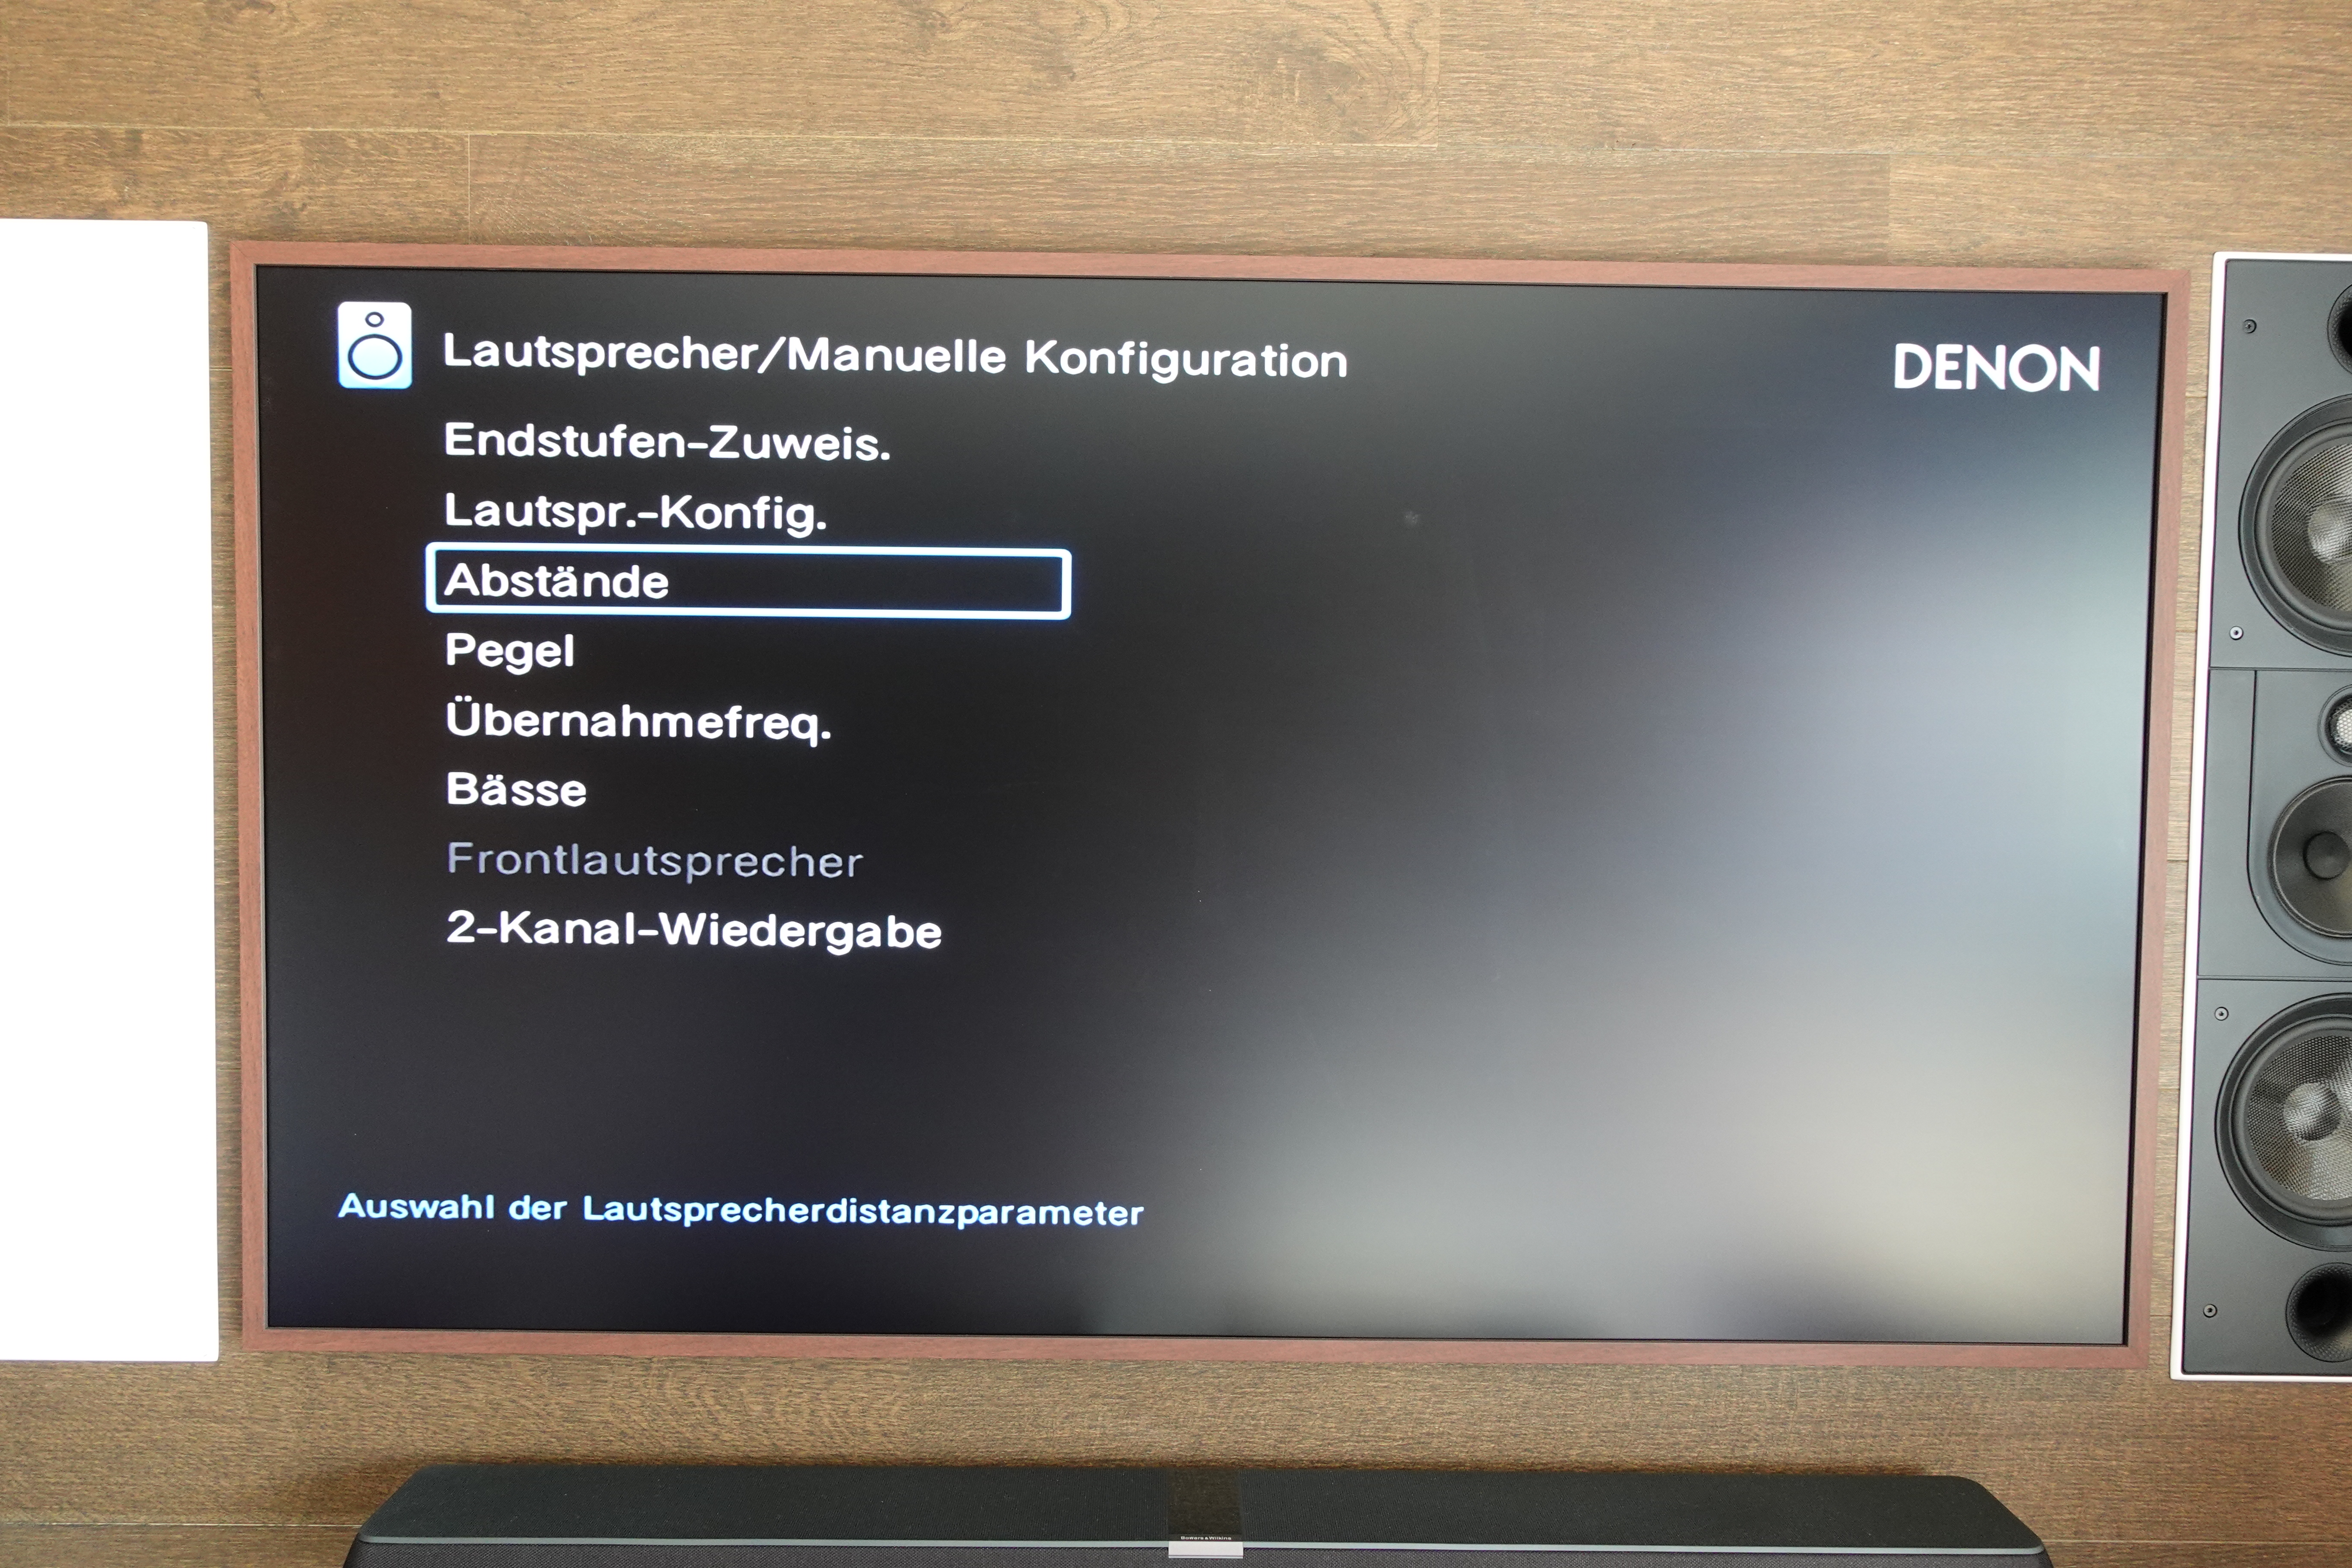
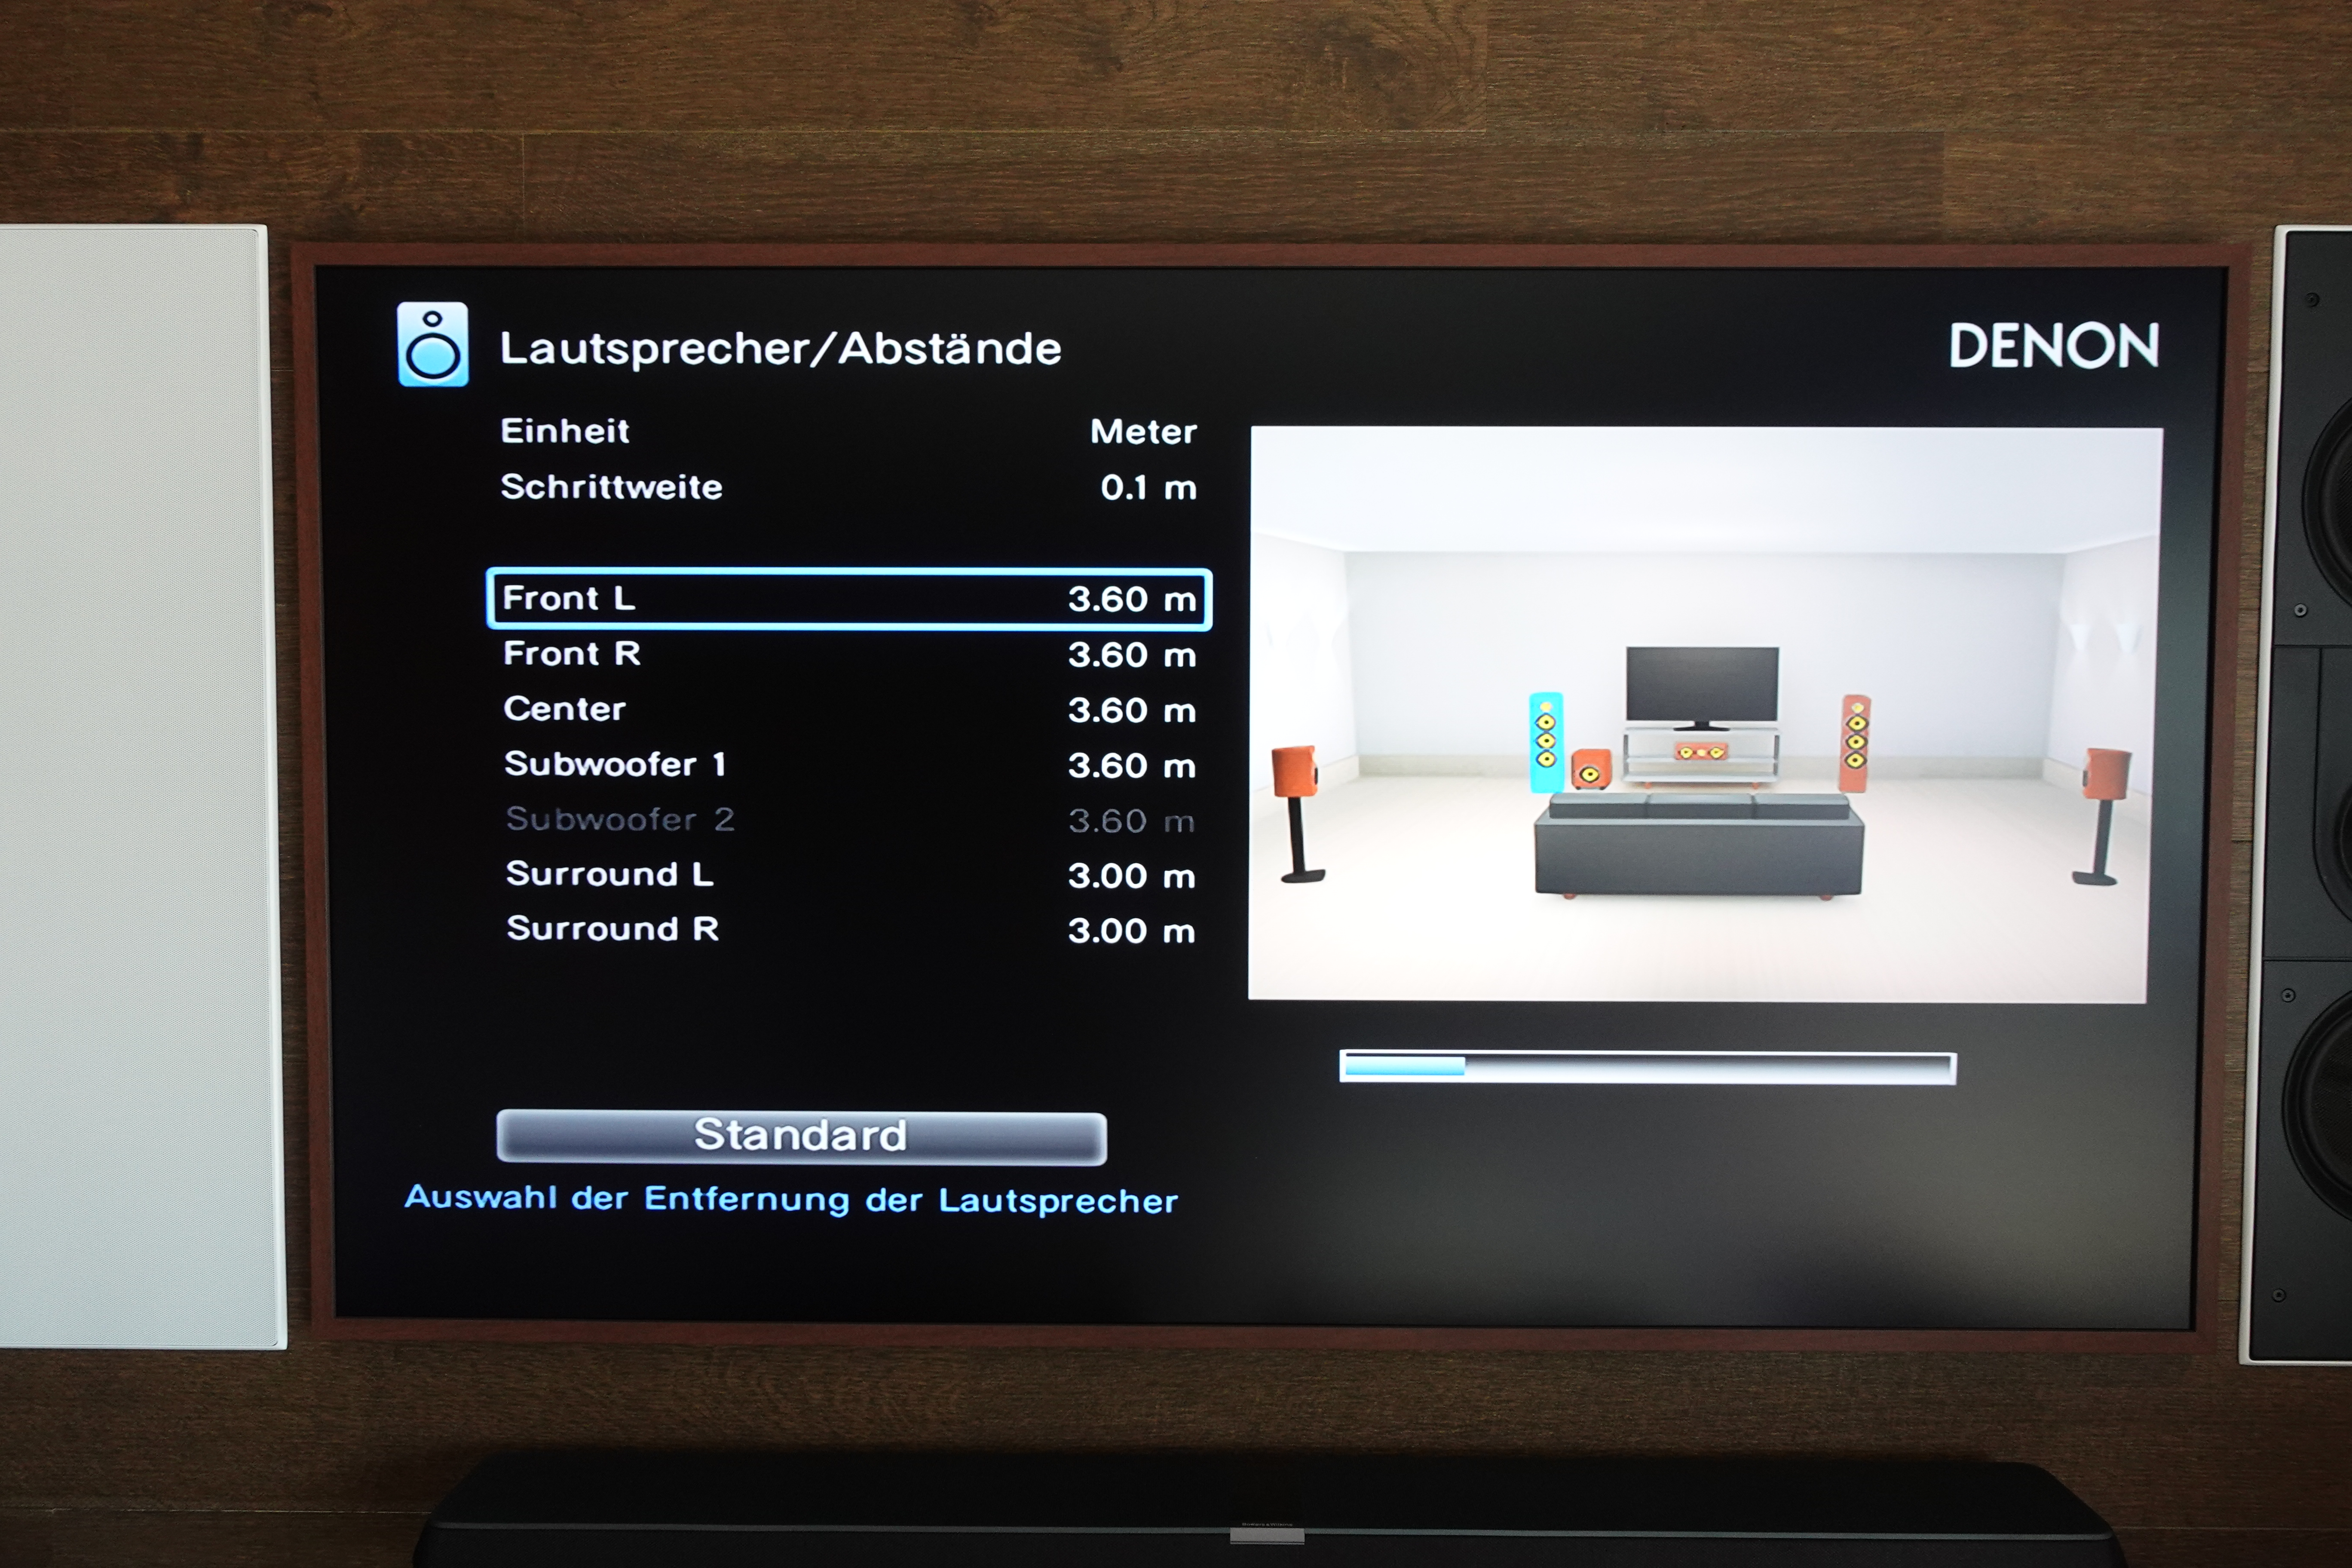
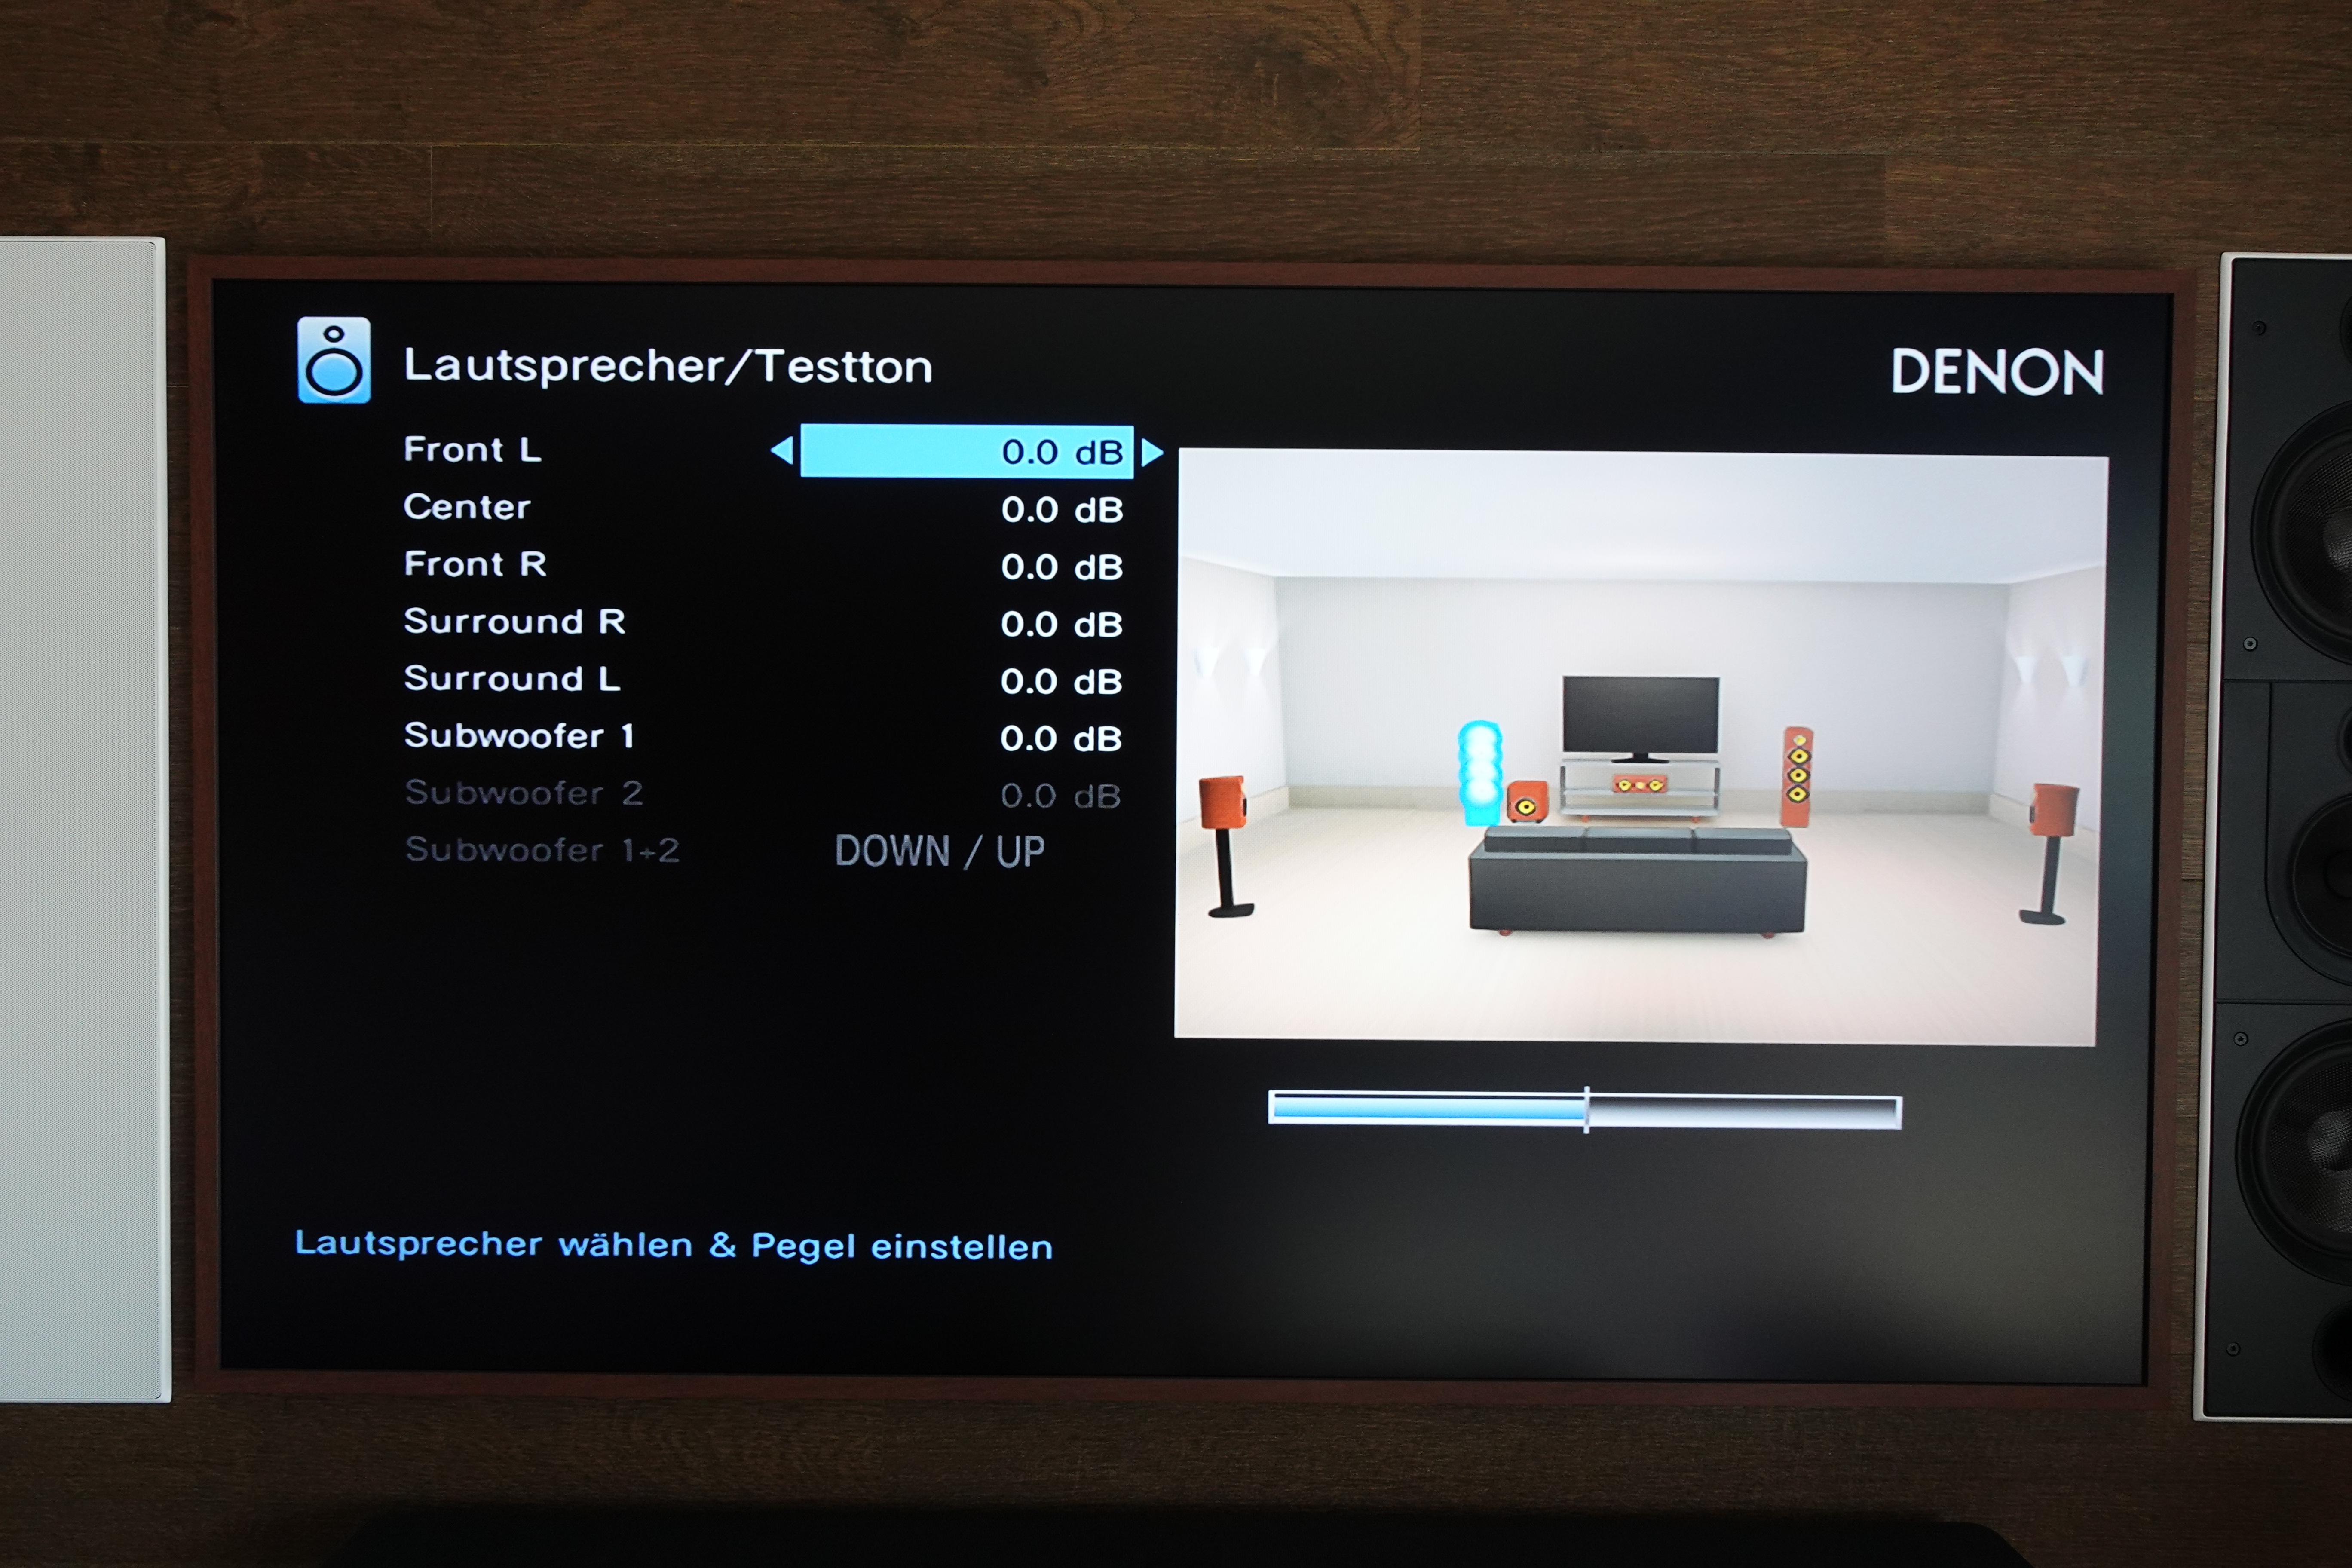
- You can also set the level of the speakers here, using the level meter, an app or your ears. Use the quietest speaker as a guide and, ideally, always adjust in the minus range so that all speakers arrive at your listening position with the same level.
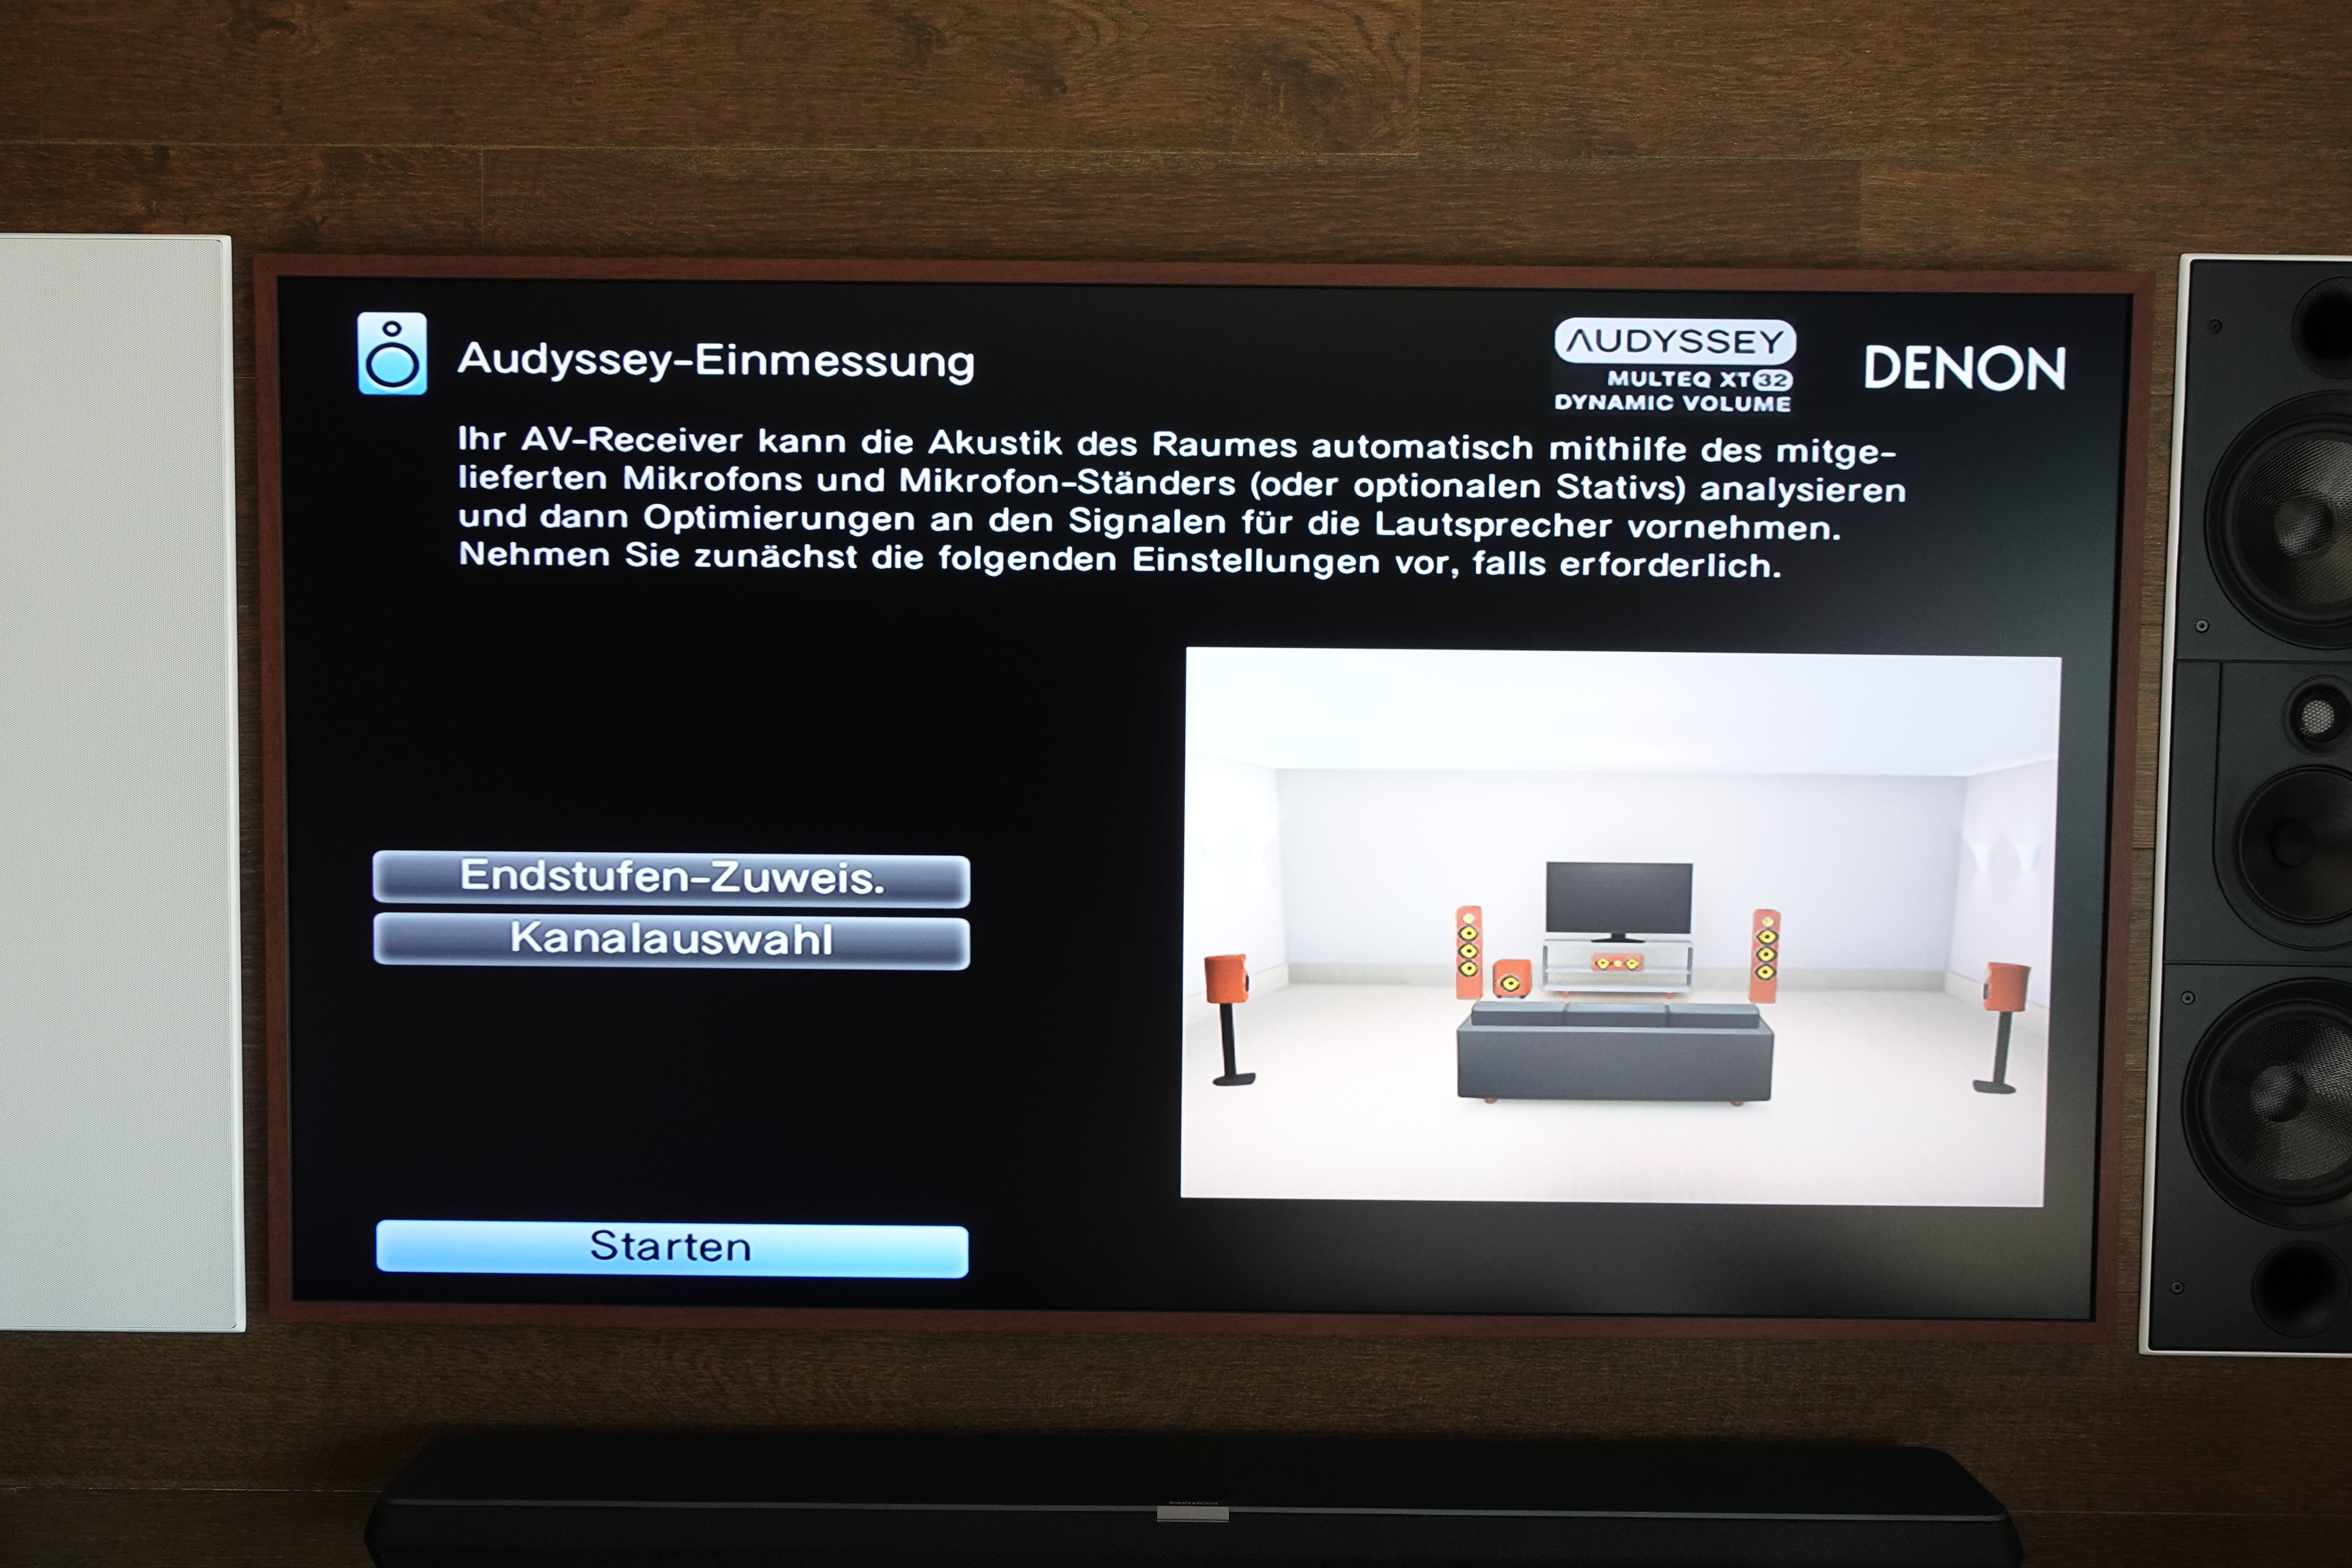
- Now that the loudspeakers all arrive at your listening position with almost the same level, you can start the calibration program - simply connect the cable of the supplied measurement microphone to the AV receiver, the menu opens automatically.
2. Calibration with Audyssey
After the preparation is complete, it is now about the actual calibration with Audyssey.
- Plug the measurement microphone into your receiver.
- Place the measurement microphone at your main listening position. Important: The microphone must be at least 60 cm away from a back wall, otherwise the reflections from this wall will have a negative impact on the measurement result. If a distance of 60 cm between the listening position and the rear wall is not possible, move your listening position accordingly, or set up the microphone at the minimum distance anyway.
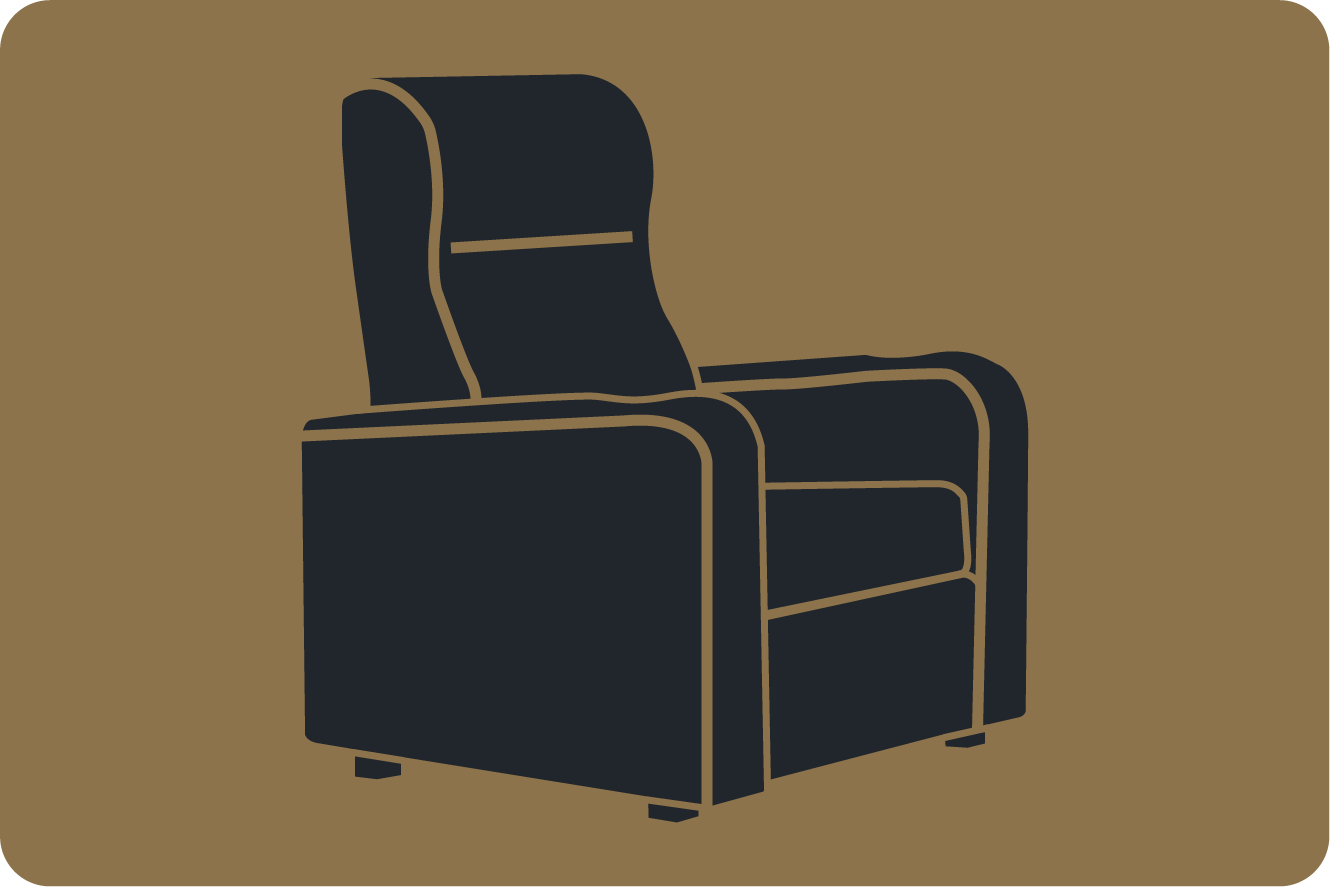
The microphone stand should not be in direct contact with the couch or armchair, as any vibration from this furniture will distort the microphone. As an option, place a stack of hard books under the tripod, or similar heavy objects that can dampen vibrations.
We recommend using your own tripod, as the included tripod is hollow inside and made of a soft material that offers little resistance to vibration. Ideally, you use an extra tripod that has as little contact with the environment as possible (decoupled feet)
- Adjust the volume of the subwoofer so that a level of 75dB is displayed at the listening position. Tip: Measuring at a lower level reduces unwanted distortion, so we recommend a subwoofer level of 73dB if possible.
- Start the calibration process at your main listening position. A "sweep" noise is now output from each loudspeaker in succession, which the microphone picks up again and processes.
- Wait until the program is finished with this position and move the microphone to the next calibration position. This should be within a circle around the main listening position (maximum radius 60cm). However, always make sure that the distance to the wall can be maintained.
3. After the measurement
After you have completed the calibration at all positions, your AV receiver will ask you about the following:
- "Dynamic EQ" option: Turn this function ON. This gives you rich bass and clear treble, even when listening quietly.
- Option Dynamic Volume": Turn this function OFF. This is a kind of "smoother" that boosts quiet passages and decreases loud passages to create an overall constant level. Of course, this means that any dynamics are lost.
Please also note:
- Always keep the measurement microphone at a distance of at least 60 cm from the wall
- Always position the measurement microphone at ear height as if you were at the listening position. If you have furniture with a backrest that extends beyond your head, then always position the microphone higher than that backrest, even if this would be above your ears. Otherwise, the backrest will shield the sound, which will have a major impact on the measurement result.
- Raise the level of your subwoofer by approx. 3dB after successful calibration.